Disclosure: Some of the links on this site are affiliate links, meaning that if you click on one of the links and purchase an item, I may receive a commission. All opinions however are my own.
An eSIM device purchased from an open market may be activated on a mobile network of the customer’s choice with the use of the Subscription Management Root-Discovery Service.
In this scenario, the customer buys a smartphone and a mobile service that uses eSIMs independently.
When you turn on the device for the first time, it will wirelessly download the eSIM information (which corresponds to the smartphone subscription you just signed up for).
Investigating the components of an eSIM architecture is a prerequisite to learning about the SM-inner DP+’s workings.
All right, here we go:
The eSIM information vault is known as the eUICC. This component lives inside the gadget itself.
The eSIM profile stores the user’s membership details and network choices. This facilitates their access to the appropriate mobile network.
Subscription Manager Data Preparation is a platform available on all carriers where eSIM profiles are stored. Using this method, all information may be safely sent to the eUICC. Once everything has been set up, the SM-DP+ will get a notification, and then an eSIM account may be formed.
Table of Contents
Where Can I Track Down The SM-DP+ address?
If you’re trying to activate your eSIM, you may find the SM-DP + Address in two different ways.
1. QR Code Scanning
You may get the SM-DP + address by scanning the QR code on the activation voucher for the eSIM. The device learns where to receive its final eSIM profile by using the SM-DP + address.
2. Through Email
You may ask the operator to send the SM-DP + address to your registered email if you have trouble finding it with the QR Code alone. After the email has been sent, you may access your eSIM by entering the SM-DP + address.
Instructions for Setting Up Your iPhone with an eSIM
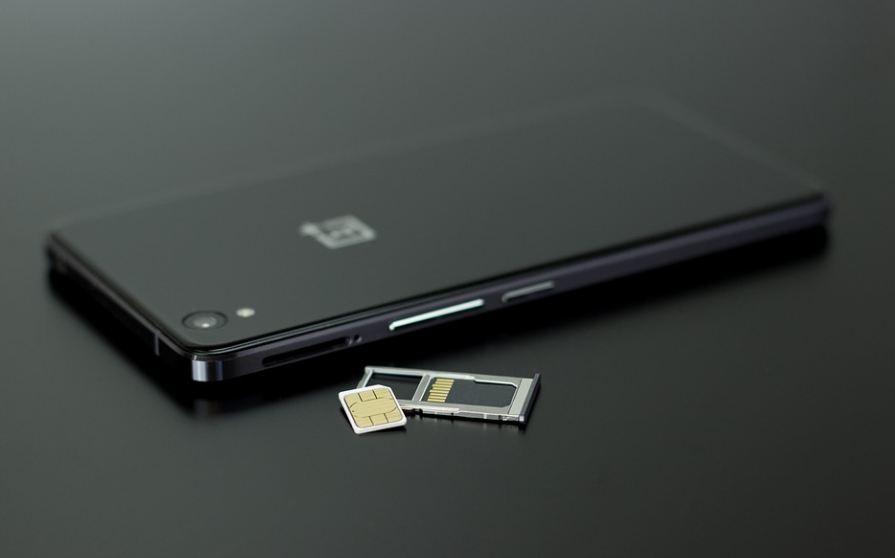
This year’s new iPhone models have all supported dual SIM setup, although iOS 12 only supports true nano-SIM. Your iPhone XS, XR, or XS Max with iOS 12.1 or later may utilize eSIM for both personal and enterprise plans.
P.C: PIXABAY
1. Conditions for Using Secondary Lines
Due to the novelty of the digital eSIM in an iPhone, its configuration might be confusing to users. For this to work, you’ll need an iPhone XS, XS Max, or XR that supports dual SIM cards.
Your computer must be running iOS 12.1 or later for eSIM functionality on the aforementioned gadgets.
An unlocked iPhone XS, XS Max, or XR is required to use with a second carrier simultaneously. You’re stuck with your current provider if you don’t want to cancel your plan.
The only U.S. carriers that support iPhone eSIM usage at this time are AT&T and Verizon Wireless, although T-Mobile is expected to join them soon.
Sprint has also shown an interest in supporting eSIM, albeit the company has not provided a firm rollout timeline.
In contrast, if you’re traveling internationally and only need data on your phone, GigSky and Truphone have you covered with their eSIM functionality.
If your first active line is with Sprint or Verizon Wireless, the second SIM will not function with another CDMA account. Apple has verified this to be true.
Your iPhone will only work with a GSM plan if it is unlocked. You can get an iPhone that has been previously unlocked through Apple, Verizon, or Sprint.
2. Plans for Multiple eSIMs Are Allowed
Only one of your two mobile phone plans may be used at a time while making or taking a call on your most recent iPhone model. If you get a call from the other plan after that, it will be sent directly to voicemail without an effort to connect. Keep this in mind.
Keep in mind that only one of your eSIM plans will be active at a time even if you have many. If you don’t manually switch from your current eSIM plan to another, you won’t be able to use the other plans.
3. Put a Second Line into Your eSIM Active
In order to activate a new cellular plan on your brand new iPhone XS, XR, or XS Max, you may either use a QR code of your carrier, use the carrier’s software, or enter the information manually.
Contacting your carrier to get your nano-SIM account converted to an eSIM is the first step toward making travel with a nano-SIM a breeze.
However, a second or third line may be activated directly on the eSIM, making it compatible with a data-only service like GigSky, which targets vacationers.
What is the eSIM Activation Process for Android Devices?
P.c: PIXABAY
If you want to use an eSIM, you may do it in one of two ways:
Installing by hand through the “Manual” tab’s input fields
Utilizing a Quick Response (QR) code reader
With the use of a QR code reader
Just go to the menu and click on the “QR Code” option.
Go into your device’s settings
Go to Settings and choose Network & Internet.
Select the plus sign (+) next to Mobile Network.
Don’t have a SIM card? click Next when requested.
Simply present the QR code and input the verification code when prompted.
Get back to the page labeled “Install eSIM/Access Data.”
Mobile Network > Enable eSIM.
Allocate Mobile Data Allow Data Roaming (Kindly switch off your main line to steer clear of roaming charges from the carrier provider when out of the country)
Navigate to Network & Internet, then click the Mobile network to modify the network settings detailed in the Additional Information section at the page’s conclusion, according to the selected data package.
You should add an APN to your device settings if you need to (access point name).
The process of manually filling in the information
If you are unable to identify the Barcode or the QR code, you may enter the eSIM information manually.
If you want to manually add and set up your eSIM, please do so in accordance with the following steps:
Navigate to the “Manual” menu at the very top.
Save the “SM-DP+Address & Activation Code” (manual installation information)
Elect the Online and Networking Menu.
The plus sign (+) may be seen next to Mobile Network.
If you don’t have a SIM card, choose Next when requested.
Use the “Enter Code Manually” option. The eSIM setup page will ask for your SM-DP+Address information.
Turn on your electronic SIM card by going to the Mobile settings menu.
Do not forget to activate mobile data on your device.
Please disable your main line to minimize roaming costs from your carrier provider when traveling abroad and set up an APN if required to enable data roaming on your smartphone (access point name).
Above we explained everything from top to toe including basic information and various steps. Hope you liked the article, and it did full justice to your expectations.
If still you have any queries, or suggestions, or want to add anything then do let us know in the comment section below. Thank you for your time.
Diksha
A graduate of the IIMC, Diksha enjoys testing out new tech products and services. Her goal is to help others make more informed purchases of tech products and services. In her spare time, she enjoys traveling, watching movies, and listening to music. An ardent reader loves to be surrounded by technology. You can follow her on LinkedIn and Instagram