Grammarly is a powerful spelling and grammar-checking tool that can be used in Gmail. It helps you catch typos, misspellings, and other errors before they become an issue.
If you’re looking for a way to improve the accuracy of your emails, adding Grammarly to Gmail is the perfect solution.
In this guide, we’ll walk through the steps of setting up Grammarly with your Gmail account.
How to Install Grammarly For Gmail?
Step 1: Install the Google Chrome Extension
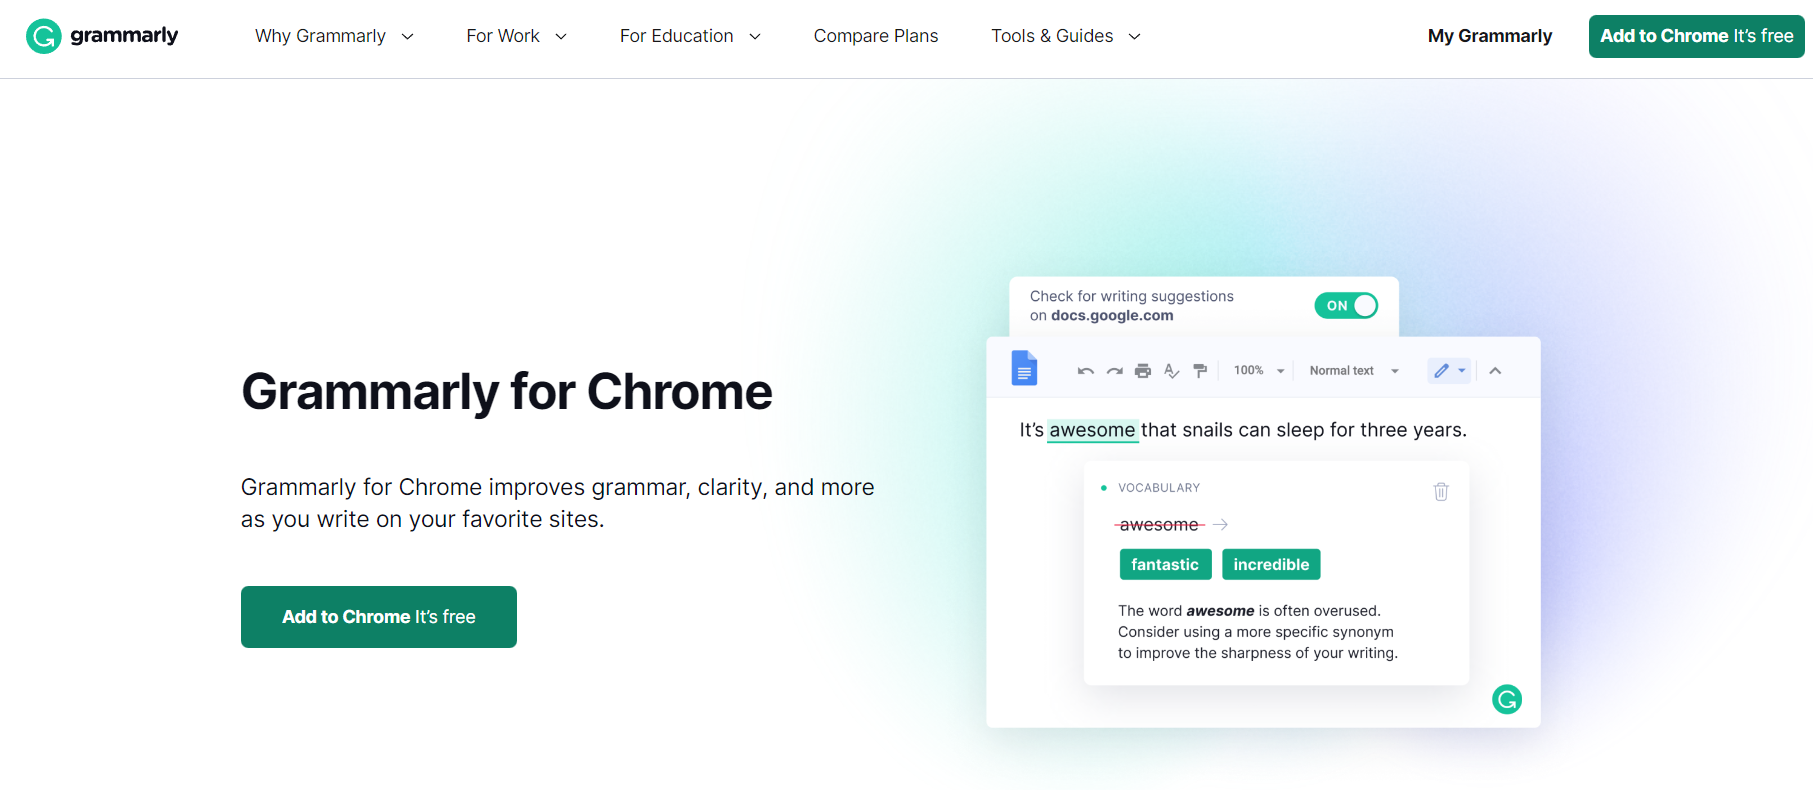
The first step is to install the Grammarly browser extension for Google Chrome. This will give you access to all of Grammarly’s features directly from within your browser.
All you have to do is search for “Grammarly” in the Chrome Web Store and click on the “Add to Chrome” button.
Once that’s done, you’ll see an icon appear at the top right of your browser window indicating that Grammarly has been installed.
Step 2: Connect Your Gmail Account
After installing the Chrome extension, you can connect your Gmail account with Grammarly in order to gain access to its powerful editing tools while writing emails in Gmail.
To do this, simply click on the icon at the top right of your browser window and select “Connect with Gmail” from the drop-down menu.
After entering your credentials, everything should be set up and ready to go!
Step 3: Use Grammarly With Gmail
Now that you’ve connected your gmail account with Grammarly, you’ll be able to use its powerful editing tools as soon as you start writing an email in gmail.
As soon as you start typing, a small pop-up window will appear at the bottom right corner of your screen displaying any potential errors or typos that are detected by Grammarly’s algorithms.
You can then click on these suggestions in order to fix any mistakes or typos before sending out an email — something which can save you time and frustration down the line!
Grammarly offers two types of checks: basic and advanced. The basic check will scan your emails for common mistakes like typos, grammar errors, and spelling mistakes.
The advanced check goes one step further by also checking for punctuation errors and more complex grammar issues.
To enable the advanced check, simply click on the “Settings” icon at the bottom right corner of the extension window and then select “Advanced Check” from the dropdown menu.
Once you have enabled Grammarly’s advanced check, it will start scanning your emails for any potential errors or typos before you send them out into the world!
It’s important to note that Grammarly does not make any changes automatically; instead, it will highlight any potential issues so that you can review them before sending out your emails.
Quick Links:
- Quillbot vs Grammarly: Which Is Better & Why?
- Jasper AI Review: My Honest Experience
- QuillBot Review: Effective Article Rewriting Software?
- Rytr Review: Best AI Writing Assistant Tool?
Conclusion: How to Install Grammarly For Gmail?
Adding Grammarly to Gmail is a great way for anyone looking to improve their writing skills quickly and easily without having to spend hours studying grammar books or hiring an editor.
With just a few clicks of a button — plus some basic knowledge about setting up extensions — you can begin using Grammarly with Gmail and start seeing results almost immediately!
Moreover, having access to powerful editing tools like this can make even novice writers look like pros — something which is sure to impress both colleagues and clients alike!