Creating a drop-down list in Microsoft Excel is one of the most basic things to learn. With the use of drop lists, you can limit the entries by forcing the user to choose from options available in the drop-down list.
However, if you do not know the right way of How to Create a drop-down list in excel, then you might face lots of problems.
Because there is more than one way of adding a drop-down list in excel and each one of them is more useful in different situations. So today we have brought you a complete tutorial on how to add a Dropdown list in excel.
How to create a drop-down list in Excel?
Method 1: – Creating drop-down lists with comma-separated values.
This is the easiest way to create a drop-down list on excel. All it takes is a few minutes of work. Just follow the step by step guide given below-
Step #1: Select a cell or range for your drop-down list.
The first step is selecting the cell(s) in which you want the drop-down boxes to appear. You can select a single cell, multiple of them, or even the whole column.
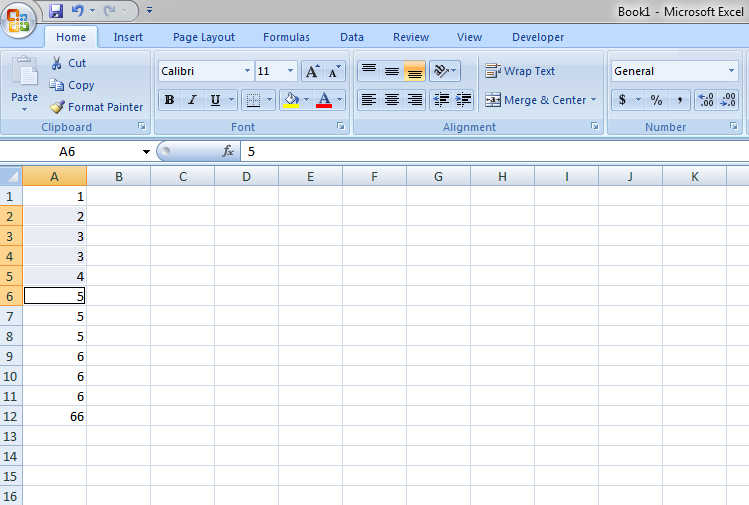
If you select the entire column then the drop-down menu will be created in each cell of that column. If you don’t want to select continuous cells and want to choose one by one, then you can press Ctrl and then select preferred cells.
Step #2: Use Excel Data Validation.
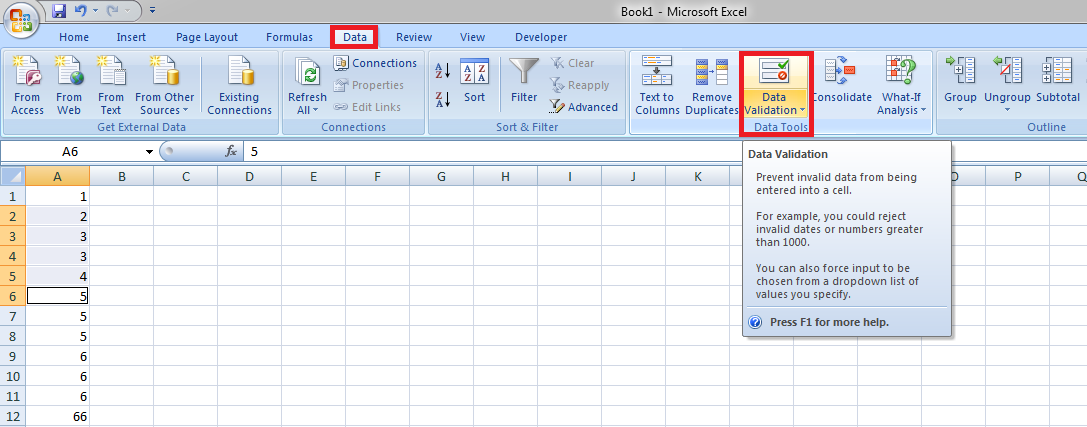
After selecting the cells, click on the data tab> Data Tools group. A list will appear, choose Data Validation from the list.
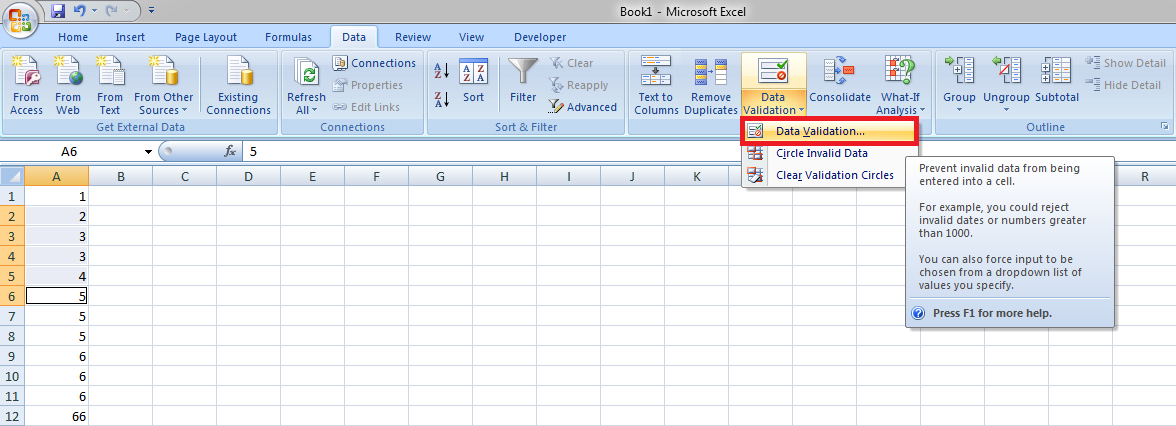
Step #3: Enter the list of Items.
After you choose the Data Validation option, a new window will appear. Follow these instructions-
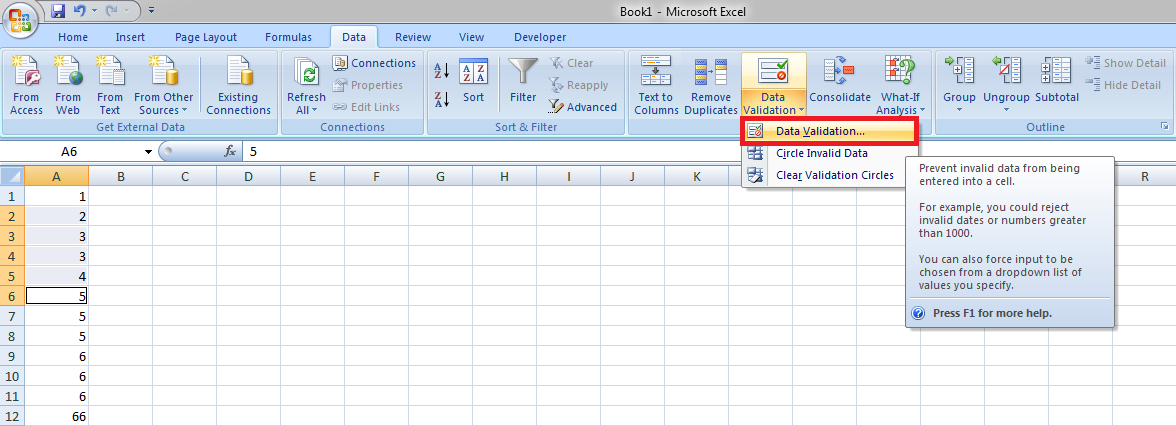
- Select List in the Allow box.
- Type the items you want to appear in your drop-down menu separated by a comma In the Source box.
- Check and Make sure the In-cell dropdown box is checked.
- Optionally, select Ignore blanks if you want to let your users leave the cell empty when they want.
- Click OK.

Great now you can see a drop-down list next to the cells you selected. Your users can now click on the arrow icon and choose the entry they want from the drop-down box.
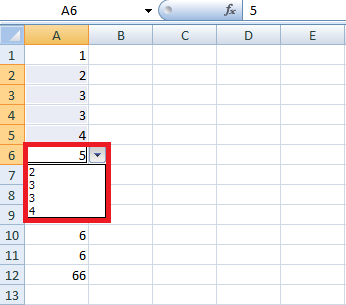
This is the easiest way to create a drop-down list in excel. Your list will be ready within a minute to be used. However, this isn’t the best way to create a drop-down list in excel if you want the same list to appear on multiple cells.
Because if you choose to edit your Excel drop-down list sometimes in the future, then you’ll have to manually change every cell which references the Data Validation list.
This may not be a big problem if you have to drop down lists for only a few cells in the same sheet. But if you have multiple cells scattered in many different layers then it can cost you hours to locate and edit those cells.
Method 2: – Creating an Excel drop-down list based on a named range.
If you have lots of work to do in Excel, and you use it very frequently then, this method is the best for you. This process takes a little more time than the last method but also saves time in the long run. Just follow the below steps to create an Excel Dropdown list using this approach.
Step #1: Type the entries for your drop-down list.
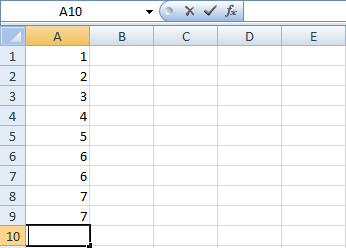
First of all, you have to type all the entries you want in your drop-down list. You can use an existing sheet or take a new one for it. You cannot leave any cells blank. All the entries should be in a single column or row without a gap.
Step #2: Create a named range.
Creating a name ranged drop-down list will make it easier for you to manage your list in the future. For creating a name ranged list, follow these steps.
- Select the entries you want in your drop-down list, right-click them, and choose Define Name from the context menu. An alternate method of doing this is by clicking on Name Manager on the Formulas tab or by pressing Ctrl + F3.
- In the Name Manager dialog, choose New.
- In the Name field, type a name for your entries, make sure the correct range is displayed in the Refers to box, and then click OK.
Note: Be sure your range name doesn’t have any spaces or hyphens; you can use underscores (_) instead.
Step #3: Select the location for your drop-down list.
You have created name ranges, and now it’s time to select the location for your drop-down list. This is very simple. Just click on the cell where you want your drop-down list to appear.
It can be on the same sheet or any other Excel sheet on your computer. You can also select multiple cells or a column of them.
Step #4: Apply Excel Data Validation.
After you have selected the place for your list, click on the Data tab and follow by clicking Data Validation.
Step #5: Configuring your drop-down list.
In the Data Validation tab, click on the settings tab then choose the following options-
- In the Allow box, select List.
- In the Source box, type the name you gave to your range followed by an equal sign, for example=NAME.
- Make sure the In-cell dropdown box is checked. Put a tick in the Ignore blanks box if your users are allowed to leave the cell empty.
- Click the OK button.
Voila, you have successfully created a drop-down list on your Excel sheets. Now if anybody asks you How to Create a Drop-Down List in Excel, then you can show your ninja skills to them.
You can use these Excel drop-down lists according to your needs. If you have any questions about this tutorial, please leave a comment and we’ll solve your doubts.
If you found this article helpful and if you would like to see more useful Excel tutorials from us in the future, then please share this article and show your support.
Quick Links

