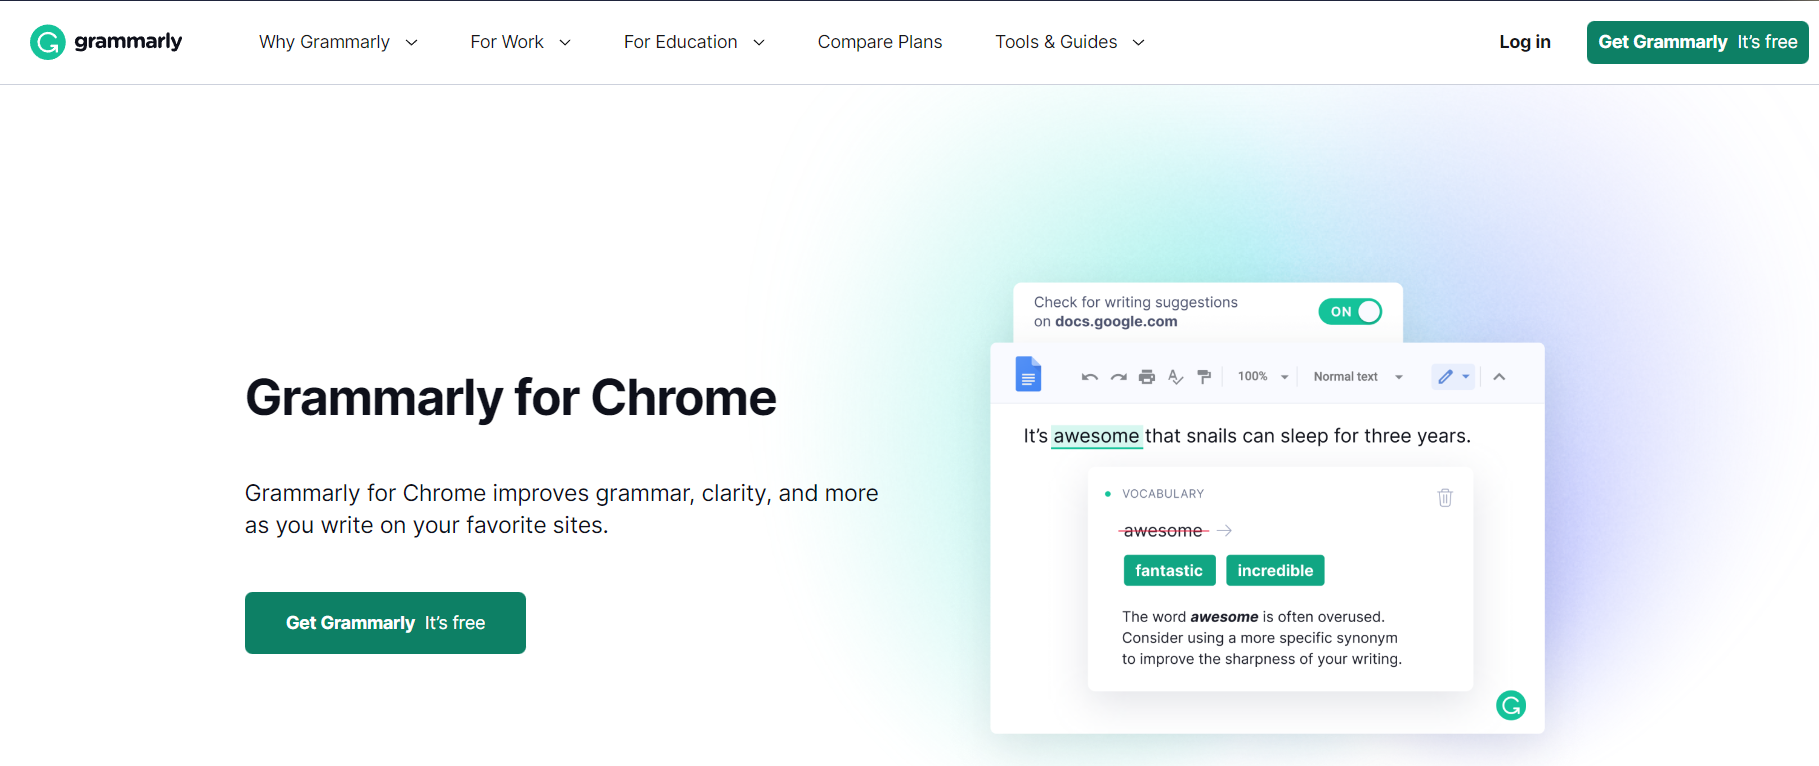
If you’re a writer or blogger looking to improve your writing process, installing Grammarly in your Chrome browser is a great place to start.
Grammarly’s user-friendly features can help correct spelling errors, improve grammar, reduce typos, and even provide context-specific recommendations.
Grammarly can be added to Chrome in just five simple steps. Continue reading to find out how.
How to add Grammarly to Chrome?
Step 1 – Download the Extension
The first step is to download the Grammarly extension onto your Chrome browser. To do this, open up your Google Chrome browser and navigate to the Chrome Web Store.
Type “Grammarly” into the search bar at the top of the page, then select “Add to Chrome” beneath the official Grammarly extension.
This will prompt you to add the extension to your browser. Click “Add Extension” when prompted.
Step 2 – Create an Account
Once you have installed the extension onto your browser, you will be prompted to create an account with Grammarly.
Click “Sign Up Now” in order to set up an account with your email address or log in through one of your social media accounts such as Facebook or Twitter if you already have one registered with them.
Step 3 – Choose a Plan
After creating an account, you will be given two options for using Grammarly – either use it for free or upgrade for additional features through its premium service.
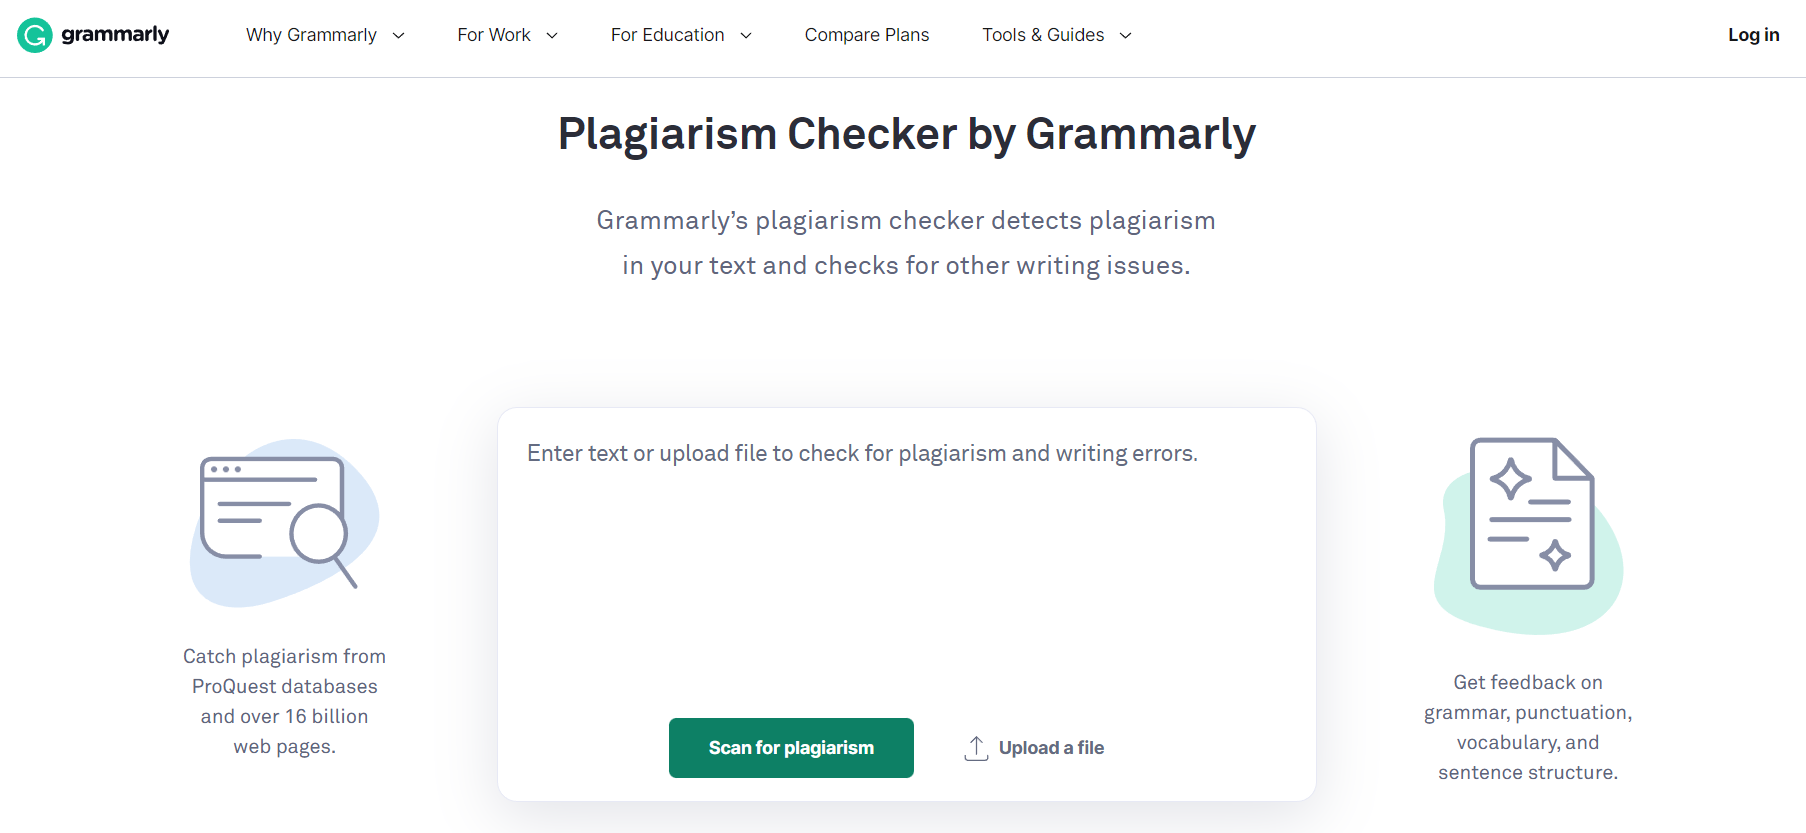
The free version includes basic grammar checks while the premium version includes more advanced checks such as plagiarism detection and vocabulary enhancements which are especially useful for professional writers and bloggers alike.
Select whichever option suits you best and click “Continue” when ready.
- Grammarly Basic Plan
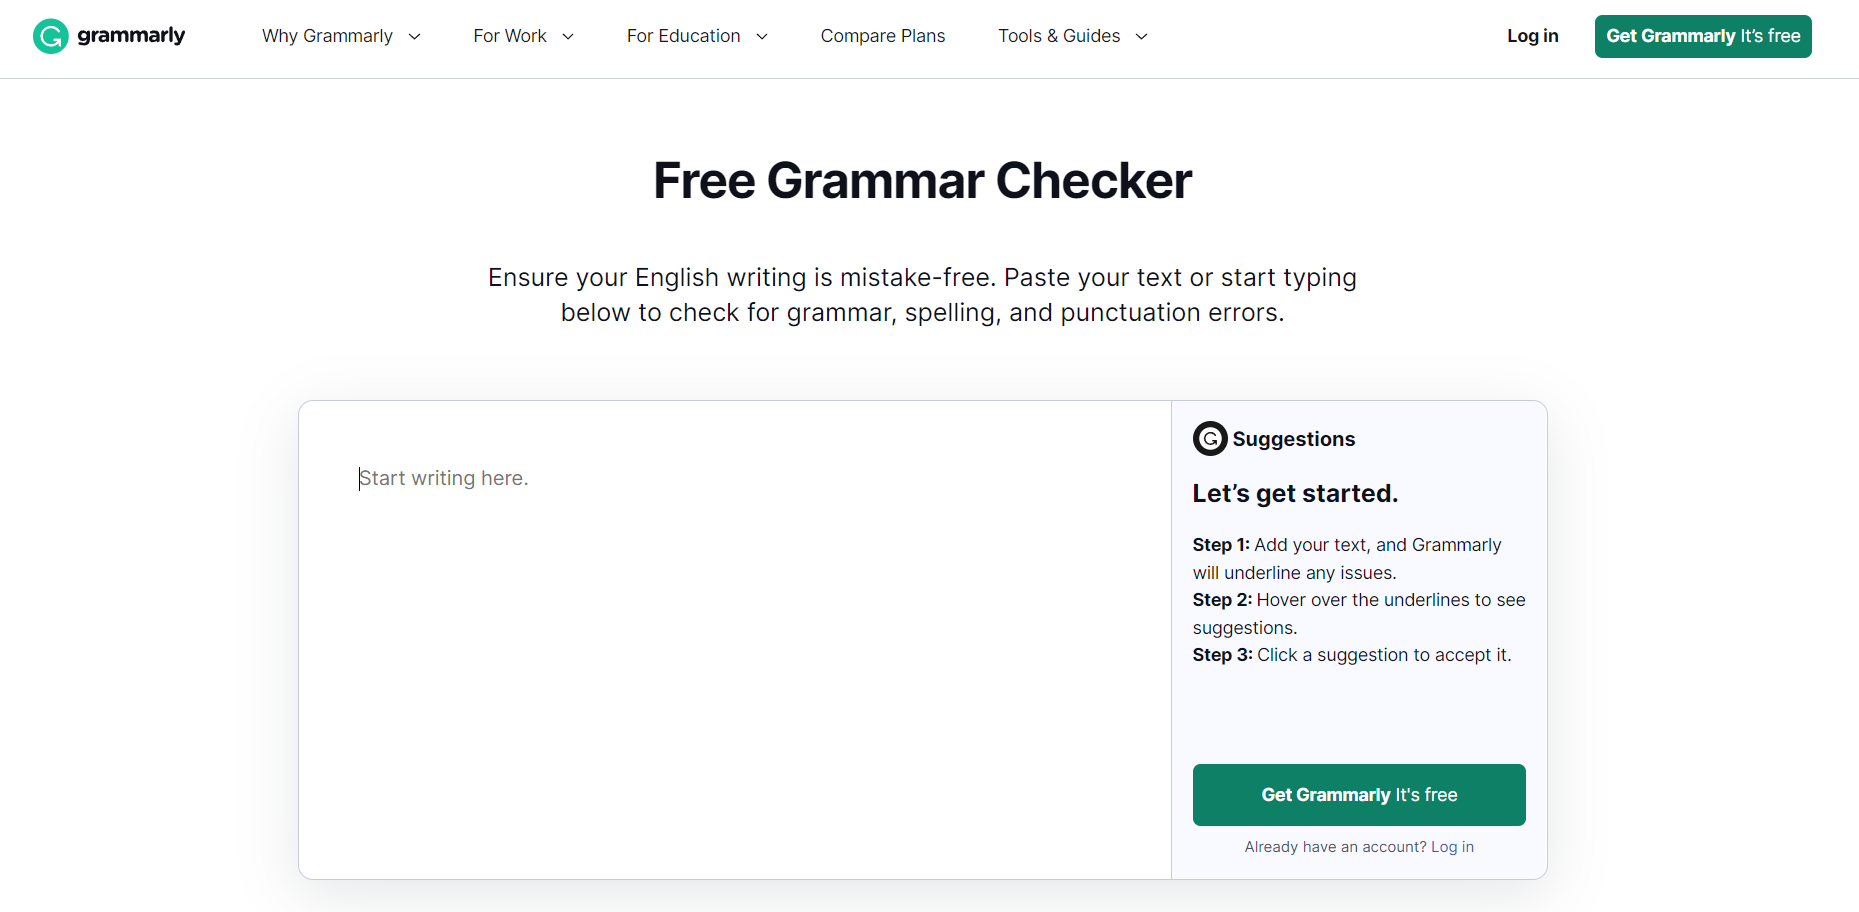
The Basic version of Grammarly provides users with grammar and spelling checks, including context-specific sentence structure suggestions, as well as automated proofreading and plagiarism detection.
This plan is great if you’re just starting out in the world of writing or if you already have basic knowledge of grammar.
It’s also perfect for those who want an easy way to check their work for errors before submitting it for publication or review.
- Grammarly Advanced Plan
The Advanced version of Grammarly includes all the features found in the Basic plan plus more advanced grammar and style checks.
These include complex sentence structure suggestions, vocabulary enhancements, as well as citation recommendations.
This plan is ideal for those who want a more comprehensive editing experience.
It’s perfect for experienced writers who need a deeper level of editing or those who want to make sure their work is completely error-free before submitting it for publication or review.
- Business Plan
The Business plan includes all the features of the premium plan but adds support for teams within an organization by providing access to collaborative documents across multiple users with user management tools such as role-based permissions, user activity tracking reports, etc.
The business plan also includes exclusive features such as integration with popular project management tools like Asana & Trello and custom team style guides which can be enforced across all documents created within the organization.
This plan is ideal for organizations looking to streamline their workflow processes while ensuring content quality & consistency across their documents/publications/websites etc.
Step 4 – Connect Your Browser
Once you have chosen either a free or paid plan for using Grammarly, it’s time to connect it to your web browser so that it can start working its magic on any text that is typed in there!
Click on “Turn On in Chrome” at the bottom of the screen and grant permission for Grammarly by clicking “Allow Access” when prompted by chrome.
You should now see a green check mark next to each sentence in any text box that appears within Chrome indicating that it has been checked by Grammarly!
Step 5 – Enjoy Your Writing Experience!
You are now all set up with using Grammarly on Chrome! All you need to do now is enjoy your improved writing experience!
As you type into any text box within chrome, feel free to make use of all of its amazing features such as automated grammar corrections, contextual spelling checks, and even suggestions based on writing style preferences which can be tweaked within the settings menu accessible from within your account dashboard! Enjoy!

Quick Links:
- Quillbot vs Grammarly: Which Is Better & Why?
- Jasper AI Review: My Honest Experience
- QuillBot Review: Effective Article Rewriting Software?
- Rytr Review: Best AI Writing Assistant Tool?
Conclusion: How to add Grammarly to Chrome?
With just five easy steps, anyone can quickly add Grammarly’s powerful editing tools directly into their Google Chrome Browser and start improving their writing experience right away!
Whether you’re a professional writer or blogger looking for advanced features like plagiarism detection or someone who just wants help catching typos before posting online, adding Grammarly to your Google Chrome browser is sure to help make life easier for any writer out there! Give it a try today!